

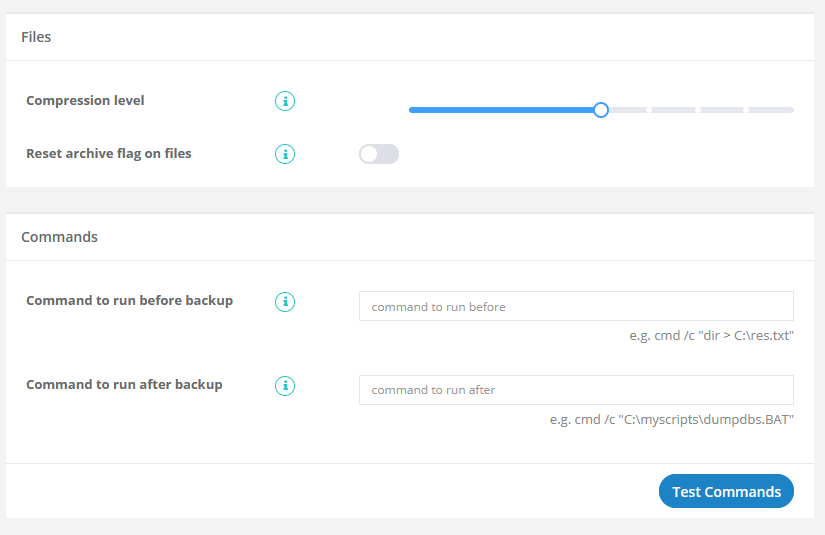
There are some advanced settings you may wish to take advantage of on the Backup->Settings tab.
Onguard Remote Backup compresses files before backing them up. The default compression level is 5 (medium) which is roughly equivalent to the same amount of compression you will see with utilities such as zip using their defaults. A value of zero (0) means no compression and a value of 10 means maximum compression. The compression setting you use will impact the length of time it takes to backup a file, where the higher the level of compression you specify, the longer the pre-processing of the file will take but shorter the transfer of the file will take (smaller files take less time to transfer over the Internet then larger files).
An important thing to keep in mind is that the higher level of compression you use, the less likely it will be for efficient delta-block differentials to occur, so increasing the compression level might ironically cause your backup transfer times and storage to increase over time when backing up large files which change daily. For this reason we recommend using a setting of 5 or less for compression.
Historically, backup applications utilized the archive flags on files to determine which files have changed and need to be backed up. When legacy backup applications encounter a file with its archive flag set, then then backup the file and clear the flag. This legacy approach only works when users ran a single backup application — however if multiple solutions are used then the one which backs up a file clears the flag and the other doesn’t know the file has changed so it doesn’t back it up. As a result, our software client does not look at the archive flags on files at all. However, we allow you to specify that the software client clears the flag on each file it backs up.
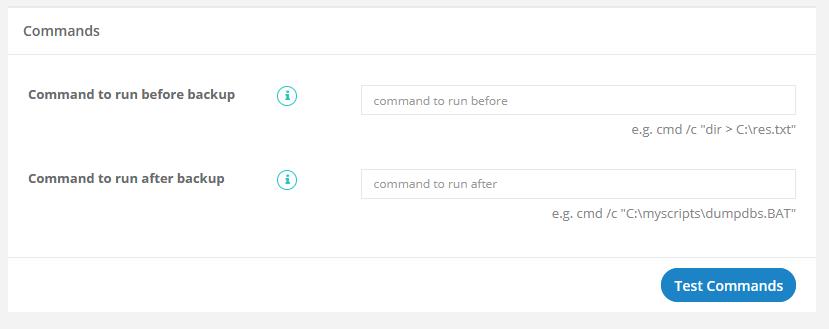
There maybe occasions when certain applications, such as mysql, may need to be stopped before a backup commences, and then restarted afterward. You can specify EXE files to execute, or command prompt commands to run, on the Backup->Settings tab as shown below.
If you are running command prompt (DOS) commands, then you’ll need to be sure to enclose the command in double quotes and invoke the command prompt interpreter, where an example would be:
cmd /c “C:\myscripts\dumpdbs.BAT”
Since you can specify arbitrary commands, the “Test” button has no way of knowing whether the commands executed successfully, so please be sure, after using the “Test” button, that your commands accomplished what you want. A common error when creating BAT files is forgetting to change the working directory to where your files or scripts are at the beginning of the BAT file (using the CD command).
Next Article: Monitoring Your Backups