Your desktop installation of Outlook can be configured to read your messages using POP3. We support all of the major releases of Microsoft Outlook, which includes Outlook 2003 through Outlook 2013.
In order to create a POP3 connection in Microsoft Outlook, you will need the following pieces of information:
Account Information – This information is provided to you when your E-Mail account is created. If you are unsure of your credentials, we can assist you with resetting your information.
Server Information Incoming Server: pop3.vcsny.com Incoming Port: 995 (SSL) Outgoing Server: smtp.vcsny.com Outgoing Port: 587 (Auto)
Setting up outlook 2010/2016
Select Tools, then Email Accounts
Open Microsoft Outlook
Select Add a new e-mail account, and then click Next
Select E-Mail Account and click next
Select Manually configure server settings or additional server types and then click next
Select Internet E-Mail and then click next
Enter Your Name as you would like it displayed
Enter your Email address (see above)
Enter the incoming server address (as shown above) into the Incoming Mail (POP3) server field
Enter the outgoing server address (as shown above) in the Outgoing Mail (SMTP) field
Enter your username and password (as shown above) in the fields provided under Logon Information
Check the box Remember Password
Click the box More Account Settings
It is not necessary to change the name of the mail account.
Enter your Email Address in the field Reply Email (as shown above)
Click the tab at the top labeled Outgoing Server
Check the box My Outgoing server (SMTP) Requires Authentication, and select Use Same Settings as my Incoming Mail Server
Click the tab labeled Advanced at the top.
Check the box that says This server requires an encrypted connection (SSL) under Incoming server (POP3). Also ensure sure port is 995
Change the port for the outgoing SMTP server to 587
Click Ok to return you to the previous screen
Click Next to end the wizard
Click Finish to close the wizard
Click the Send Receive button in Microsoft outlook
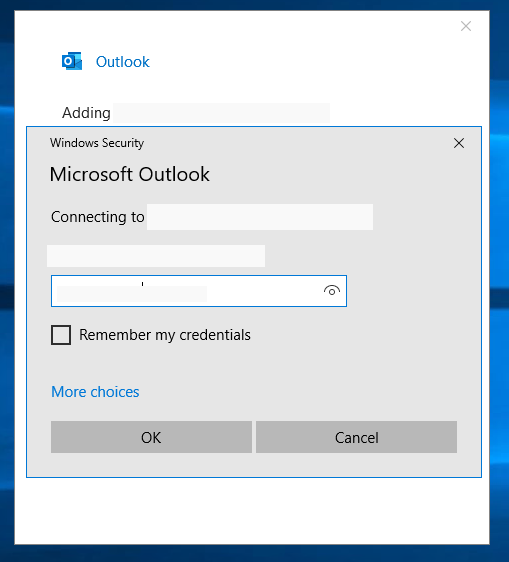
You may see a screen prompting you to enter your username and password. This only needs to be done the first time outlook is set up. Re-enter your username and password, then click Ok.
Note: On Newer phones such as the Samsung Galaxy S22, use the OUTLOOK Phone APP
Steps for adding an Exchange Email on Android 8.0 (or higher):
You Will Need:
Your Email Address
Your Password
Server Addresss: VCSOWA.VCSNY.com
Domain: vcsny.com
If you are unsure of your account info, always give us a call so we can assist.
Steps
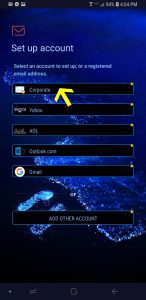
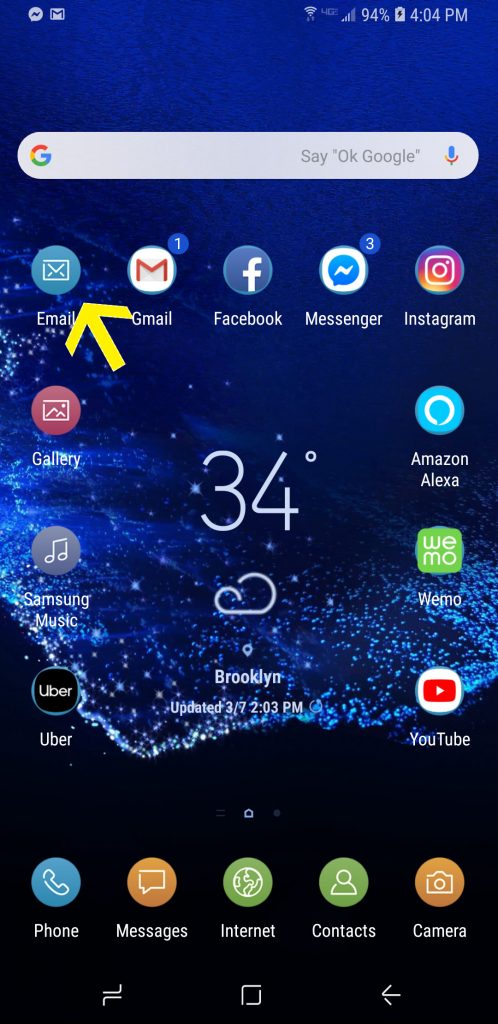
1. From the Home screen, tap the Email app
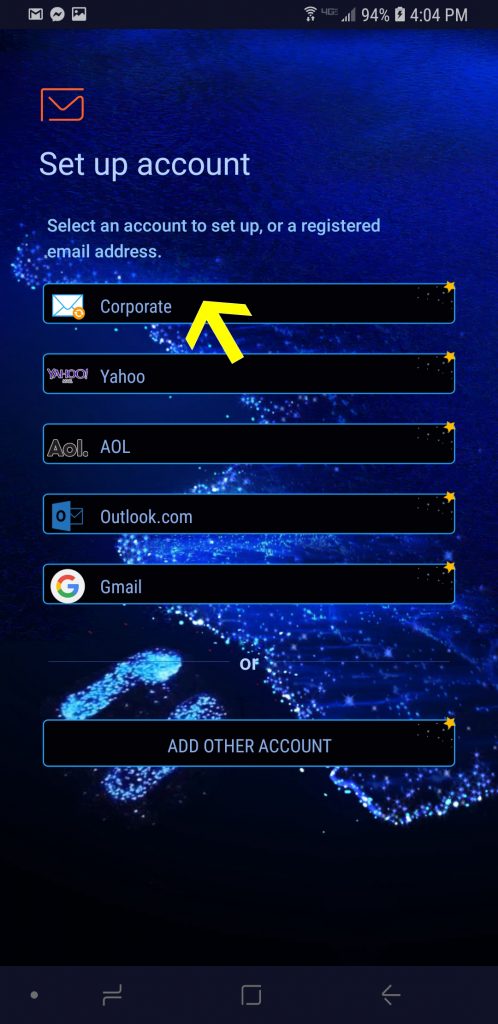
2. Select Corporate and tap Next
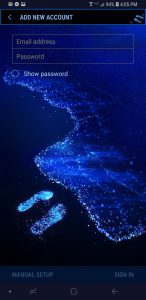
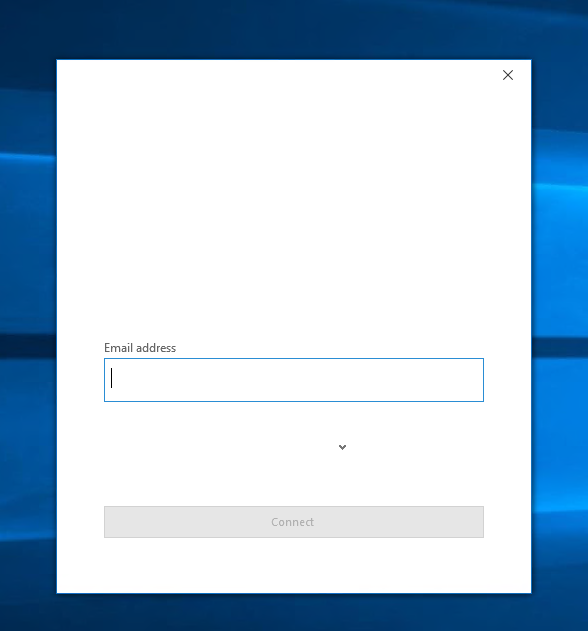
3. Enter youremail address in the first box, then touch the Password box and enter yourpassword. Touch Next
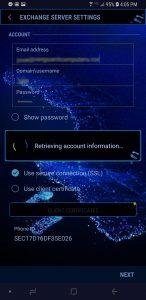
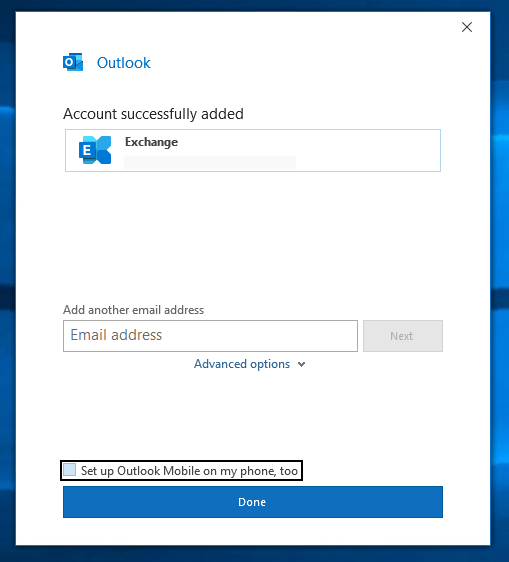
4. Your account information will automatically download from our exchange server.
5. Once your information is retrieved you need to give the exchange server authority to manage your phone. Click activate to finish the setup. Your mail should begin downloading shortly.
Manual Setup:
From the Home screen, tap the Email app
2. Select Corporate and tap Next
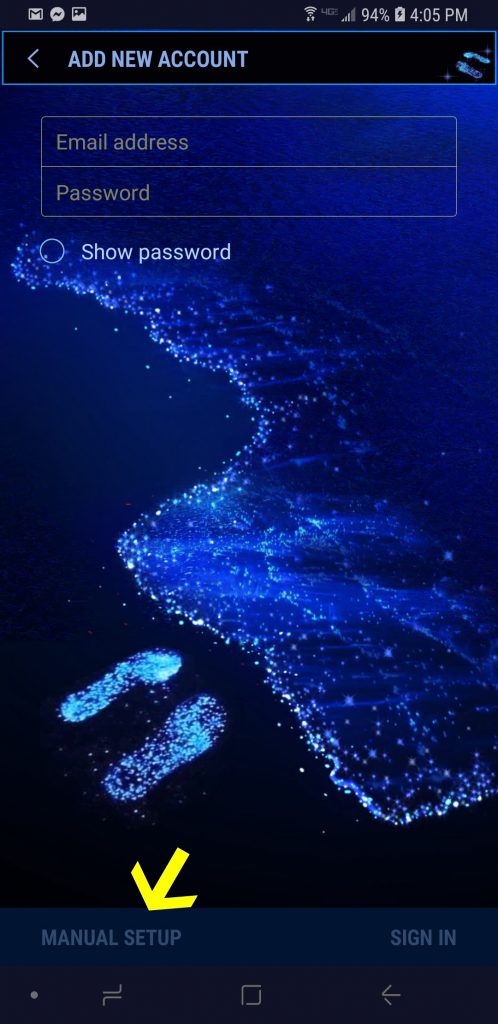
3. Enter your full email address and your password, and then select Manual Setup
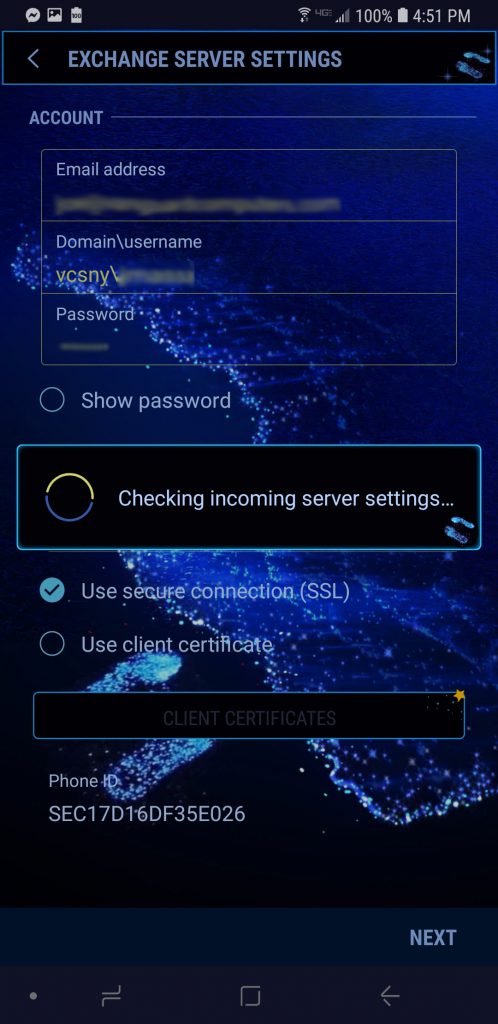
4. Enter your Email Address followed by your username in the following format: VCSNY\Username and then your password. Next, enter the exchange server address: VCSOWA.VCSNY.COM and tap next.
5. Your account will then authenticate with our Exchange Server.
6. The Account options screen allows you to select the following ActiveSync options. In most cases the defaults can be left as is: Email Sync Period – 3 Days is the default and is recomended Sync Schedule: Auto – Mail will sync as soon as a new message is recevied. Email retrieval size: 50kb is the default size. MEssages larger than this size will only download the headers. When you open the message you will be able to download the entire message. Period to Sync Calendar: Default is 6 Months and can be increased if neccessary. Notify me when email arrives: Default is Enabled (checked). Mark this option to have your device notify you that you have new email messages. Sync contacts: Default is Enabled. Mark this option to synchronize your contacts to your device. Sync calendar: Default is Enabled. Mark this option to synchronize your calendar to your device. Sync tasks: Default is Enabled. Mark this option to synchronize your to do list to your device. Sync Messages: This option should be disabled, it will sync SMS messages with the exchange server. Tap Next
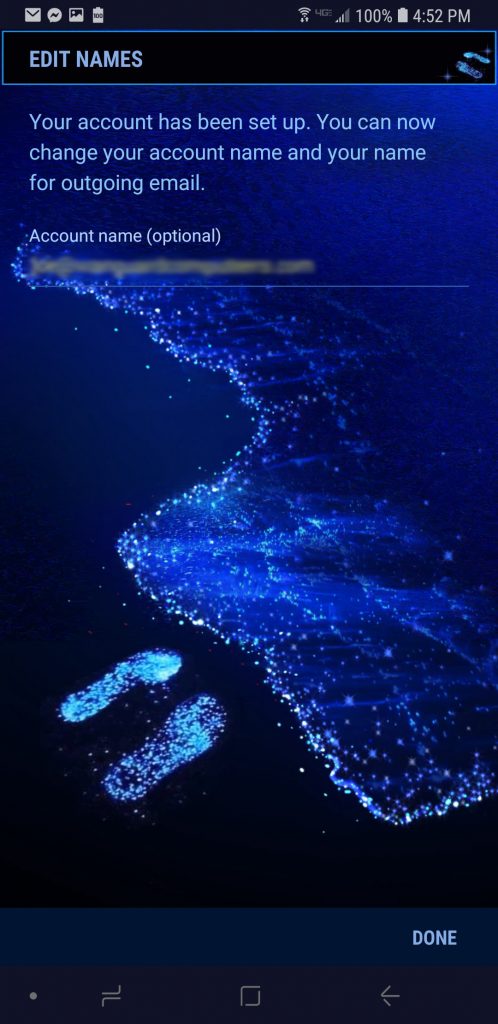
7. Enter a name for the account. This will help you easily identify this account if you add additional email accounts to your device. Then touch Don
8. Tap Done
If you have any questions or experience any difficulty setting up your phone, please let us know.
For an in depth walk-through of the steps listed below, visit our website: http://www.bulldogtechinc.com/business-services/exchange-email-archiving/