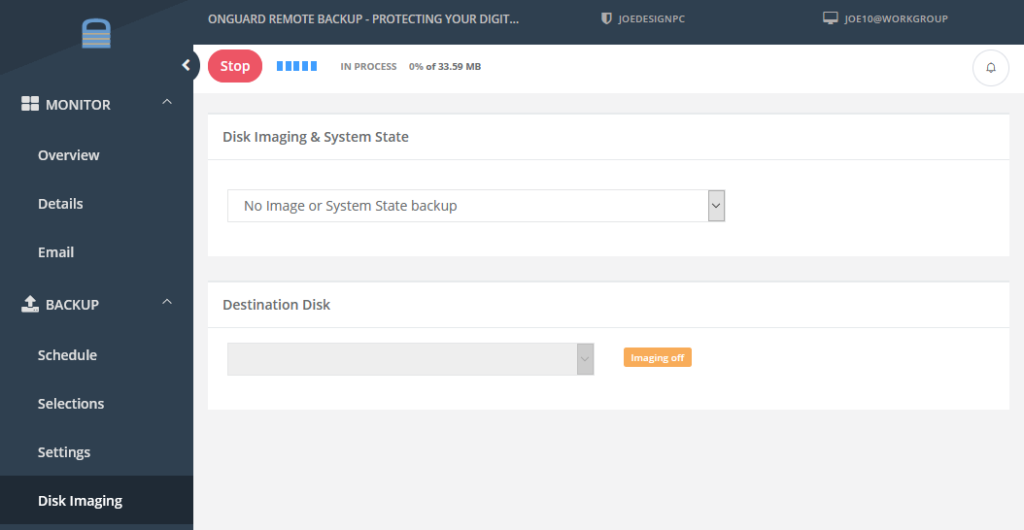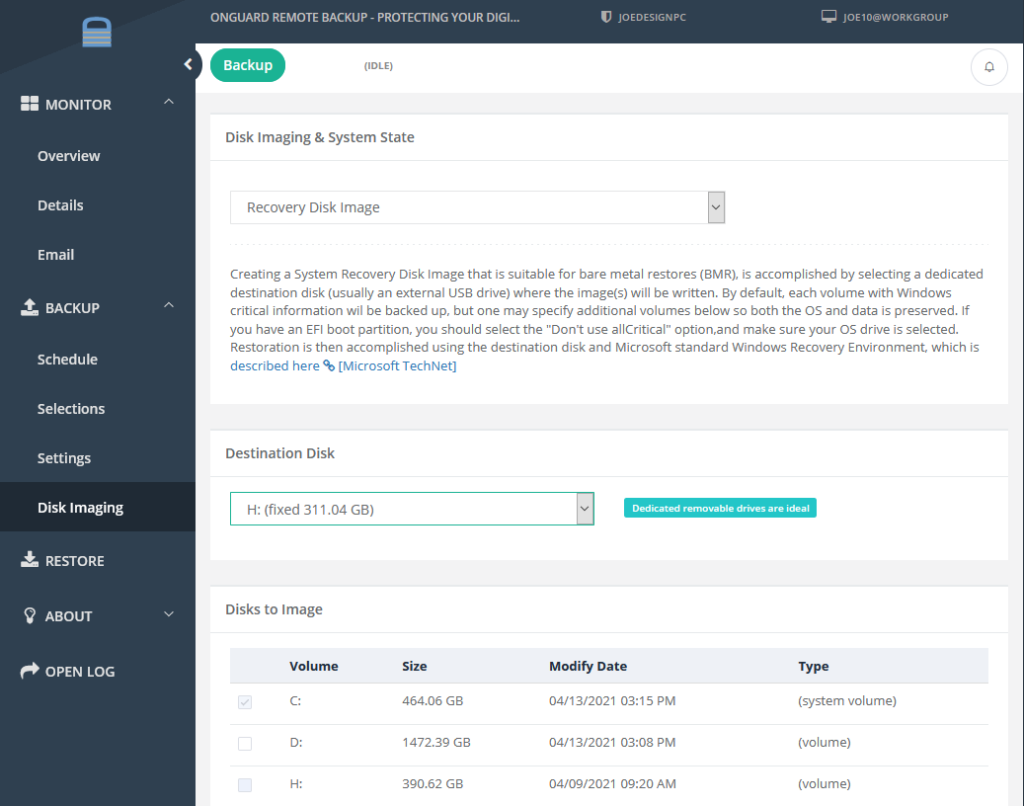
The Windows Disk Images tab allows you to perform a full bare metal recovery of your computer. Bare metal backup saves your current system state at the time the backup is run, allowing you to quicky go back to a point in time before an issue occurred. Onguard Remote Backup leverages the wbadmin command that is built in to Windows to make bare-metal disk images that are usable to recover a system through a Windows Recovery Environment.

Considerations:
- The wbadmin command was introduced with Windows Server 2008 and Windows Vista, so earlier versions of Windows (XP/2003 and older) are not able to utilize this client-side feature.
- The ‘backupTarget’ syntax designates the drive the disk images will be saved to.
- The ‘include’ syntax allows for non-critical drives to be added to the disk images. If no non-critical drives are selected, it is not included in the syntax.
- The ‘allCritical’ syntax is key for creating a system-restorable disk image backup.
- The ‘vssFull’ syntax will be added if you have selected the VSS_FULL backup mode on the Expert Settings tab, which is visible when you enter Expert mode on the client.
- The ‘quiet’ syntax prevents wbadmin from waiting for user input when performing the disk image backup.
When the Windows Disk Image backups are enabled, the above command will run with every scheduled backup, and it will save the disk images to the destination hard drive; it will create a WindowsImageBackup folder, that will contain sub-folders with the Windows disk image (.VHD), as well as many small meta-data files.
The destination drive can be either a local hard drive, network mapped drive, or (preferably) a local USB hard drive. A local drive is preferable to a network mapped drive because if it is done to a local drive, it will fully utilize VSS snapshots to keep a history of prior disk image backups. Done over the network, this is not possible, so only the latest disk image will be available.
When done to a local USB drive, it allows you to have a portable solution with multiple versions available for you to use in a Windows Recovery Environment to restore a system to its original hardware, or on to replacement hardware.
In addition to this local copy of the disk image, you can add the disk images to your backup selections to your Onguard Remote Backup Service.
The .VHD files associated with these disk image backups will be very large. On a very minimal Windows Server 2008 R2 install, the .VHD is over 25 GB. On a fully deployed server environment running services like SQL or Exchange, it will be much larger. You should account for this when you perform the initial remote backup for this data. One option would be to do a local seed that can then be moved to your remote server. Thankfully, these .VHD files perform well under differential scans, so after the initial seed the subsequent backups of the .VHDs will be quicker.
The initial time you run the disk image backup, it will take a long time to run. This is due to first the wbadmin command taking a long time to create the initial .VHD, and second the time it takes to compress and encrypt the .VHD. Please be sure to allow a few extra hours for the backup to run the first time a disk image backup is done.
Installing the Windows Server Backup Feature
Although wbadmin comes installed by default on consumer-grade Windows such as Windows 7, you need to ensure that the ‘Windows Server Backup’ features are installed on the server versions of Windows. To make sure you have the feature installed, you can check from the Server Manager:
1) Open Server Manager
2) Go to Features, click on ‘Add Features’
3) If ‘Windows Server Backup Features’ is not selected, select it and make sure ‘Command-line Tools’ is also selected.
4) If you had to select them, make sure to install the features.
Enabling and Configuring Disk Images

To enable the disk images, check the ‘Enable Windows System Recovery’ option at the top of the Windows Disk Images tab.
This will then allow you to select the Destination disk, which may be any local drive attached to the computer. The destination disk can NOT be the same as one of the disks you intend to back up in this manner. This is another reason a USB hard drive is preferable.
With the Destination set, you should then select which other local drives you want backed up in the “Selected disk(s) to image” field. The Destination disk will be greyed out to prevent its selection. You also cannot deselect any critical system volumes (usually the C:\).
With the above options set, the Windows disk image backup will run with every scheduled backup, but it will be only to the local destination disk. If you want the disk images to be uploaded to your server, you will need to enable remote backups as described below.
Remotely Backing Up Windows Disk Images
With Windows disk images enabled, you are then able to add the disk image backups to your scheduled remote backup data set. This is done by selecting the days of the week you want the backup to be backed up remotely. Selecting Everyday, Weekday, or Weekend will select the appropriate individual days.
As with all large files, it will take a substantial amount of time for the backup process to compress, encrypt, and do a differential scan on the large .VHD file generated by the Windows disk image backup. This will be the case even after the initial backup of the .VHD, because the compression and encryption must be run each time a file is to be analyzed for backup.
You must ensure that there is enough free cache space available for the compression and encryption of the .VHD file can be done. It is recommended that there is 2.5 to 3 times as much free space available for cache space as the largest file that is being backed up, which is likely to be the .VHD file. It is a good idea to not include the Windows disk image backup in your remote backup set until you know the overall size of the .VHD.


